Setting up WireGuard Client with Config File
WireGuard is a VPN software that lets people access their business (or home) networks remotely over an encrypted tunnel. This guide is how to install, import a config file, and then connect to the VPN server.
Download the WireGuard Client
You can download the latest WireGuard client from the official WireGuard page here: Installation – WireGuard
Install WireGuard
Once downloaded install the WireGuard client following the onscreen instructions that appear when you run the setup file. Click next a few times, agree to the terms of the installer, and let it install.
Importing the Config
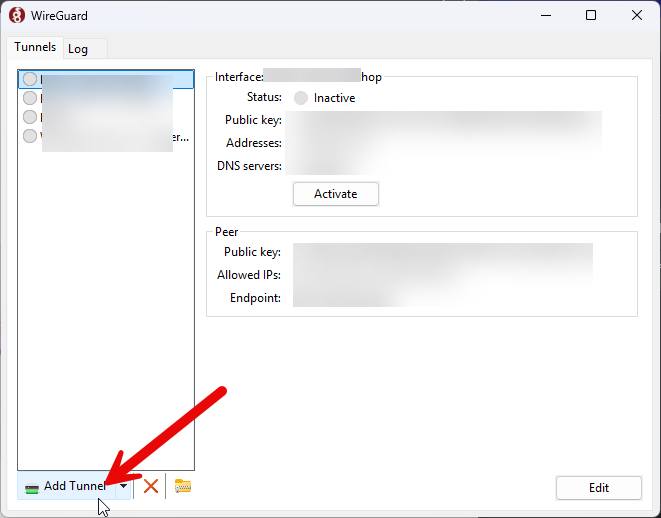
Once you have WireGuard installed load the program until you see the main window shown below and click “Add Tunnel” in the bottom left.
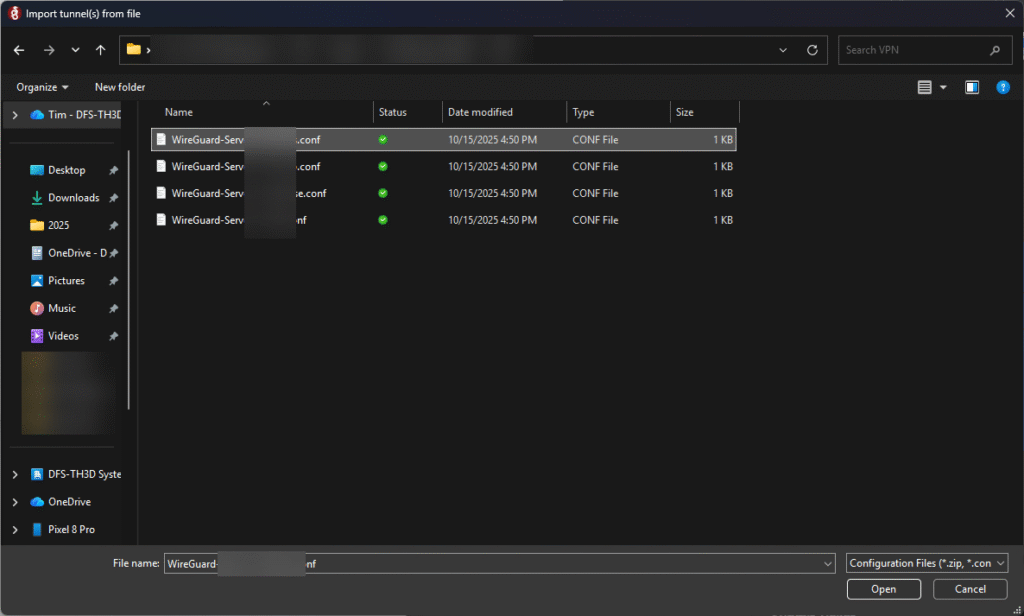
Select the .conf file that you were provided by double clicking on the file or by clicking it once and then clicking “Open” in the bottom right hand corner of the screen.
Select the tunnel you want to connect to on the left (you can have multiple config files imported into one WireGuard client) and then click “Activate”
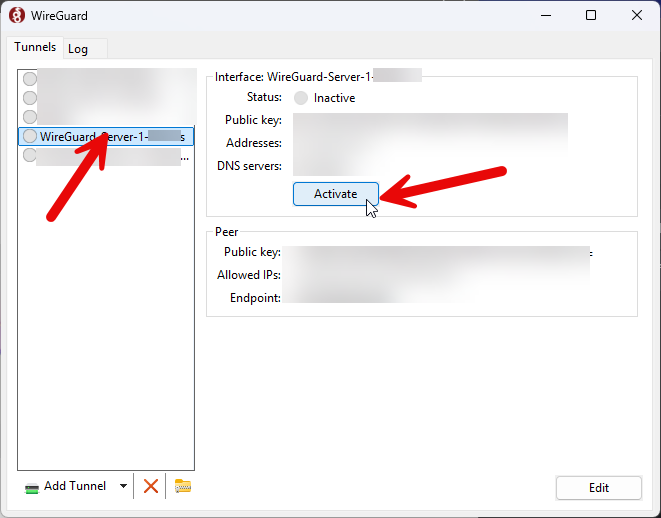
If the VPN server on the other end is working, it will show a green shield as shown below and the “Activate” button should show “Deactivate”. If you want to disconnect from the VPN you can click “Deactivate” and it will disconnect.

One thing to note is that it will auto-reconnect to whatever VPNs were active when you shut down or reboot your machine. If you do not want to have the VPN always connected you should click “Deactivate” when you want to disconnect from the VPN. Depending on how the config file is setup all or just some network traffic will be routed over the VPN tunnel.